Menu Engineering in the Pre-AI World
2–3 Days of Work
Manual recipe entry, loss factor research, price lookups, POS data, matrix building, presentation prep — all by hand.
Under 30 Minutes
Cost cards built from photos or text. Matrix generated automatically. Decisions made same day.
Most restaurants skipped the whole process and relied on gut feel instead. The result? Menus full of Dogs, underpromoted Puzzles, and Plowhorses priced too low to matter. AI changes this completely.
What AI Does for Menu Engineering
| Task | Old way | With AI |
|---|---|---|
| Build recipe cost card | 45–90 min per dish | Under 2 min |
| Extract from photos/links | Impossible | Automatic |
| Apply loss factors | Manual research | AI default + your edits |
| Calculate nutritional data | Separate tool | Built-in |
| Menu engineering matrix | Manual spreadsheet | Auto-generated |
| Dish classification | Formula + judgement | Automatic |
What remains human: the decisions. AI tells you which dishes are Dogs — you decide whether to remove, reprice, or rebrand them. The strategy is still yours.
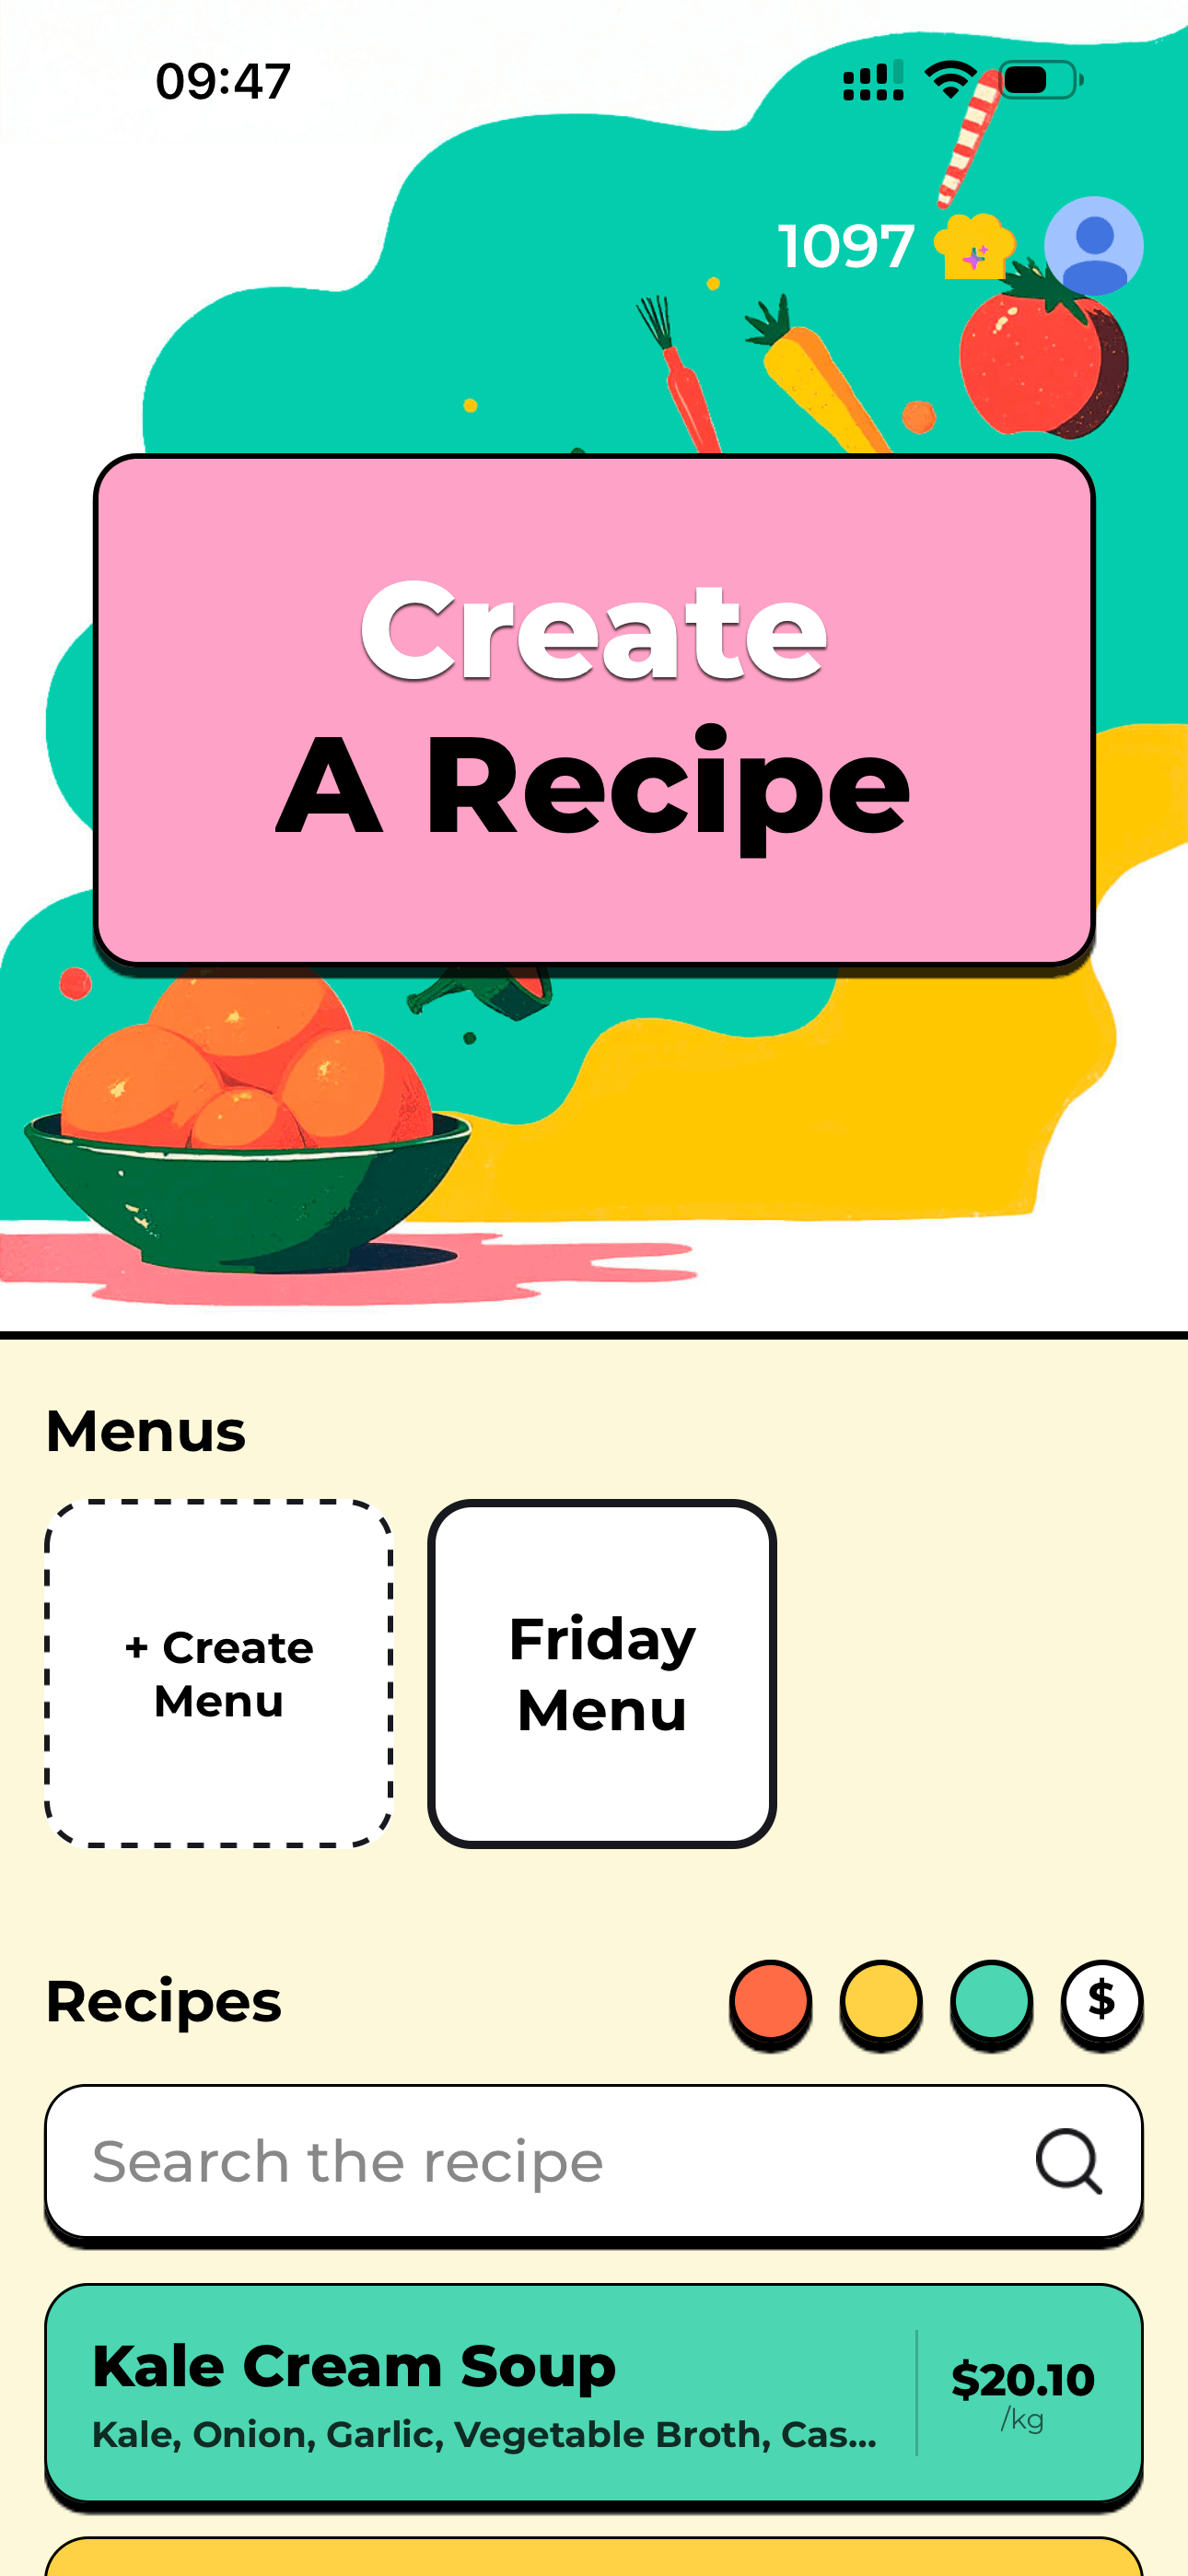
Step-by-Step: Menu Engineering with FoodTech.Guru
Build Your Recipe Cost Cards
For every dish on your menu, create a cost card in FoodTech.Guru using text, audio, photo, or a social/web link. The AI groups ingredients by prep stage and applies loss factors automatically. Time per recipe: under 2 minutes.
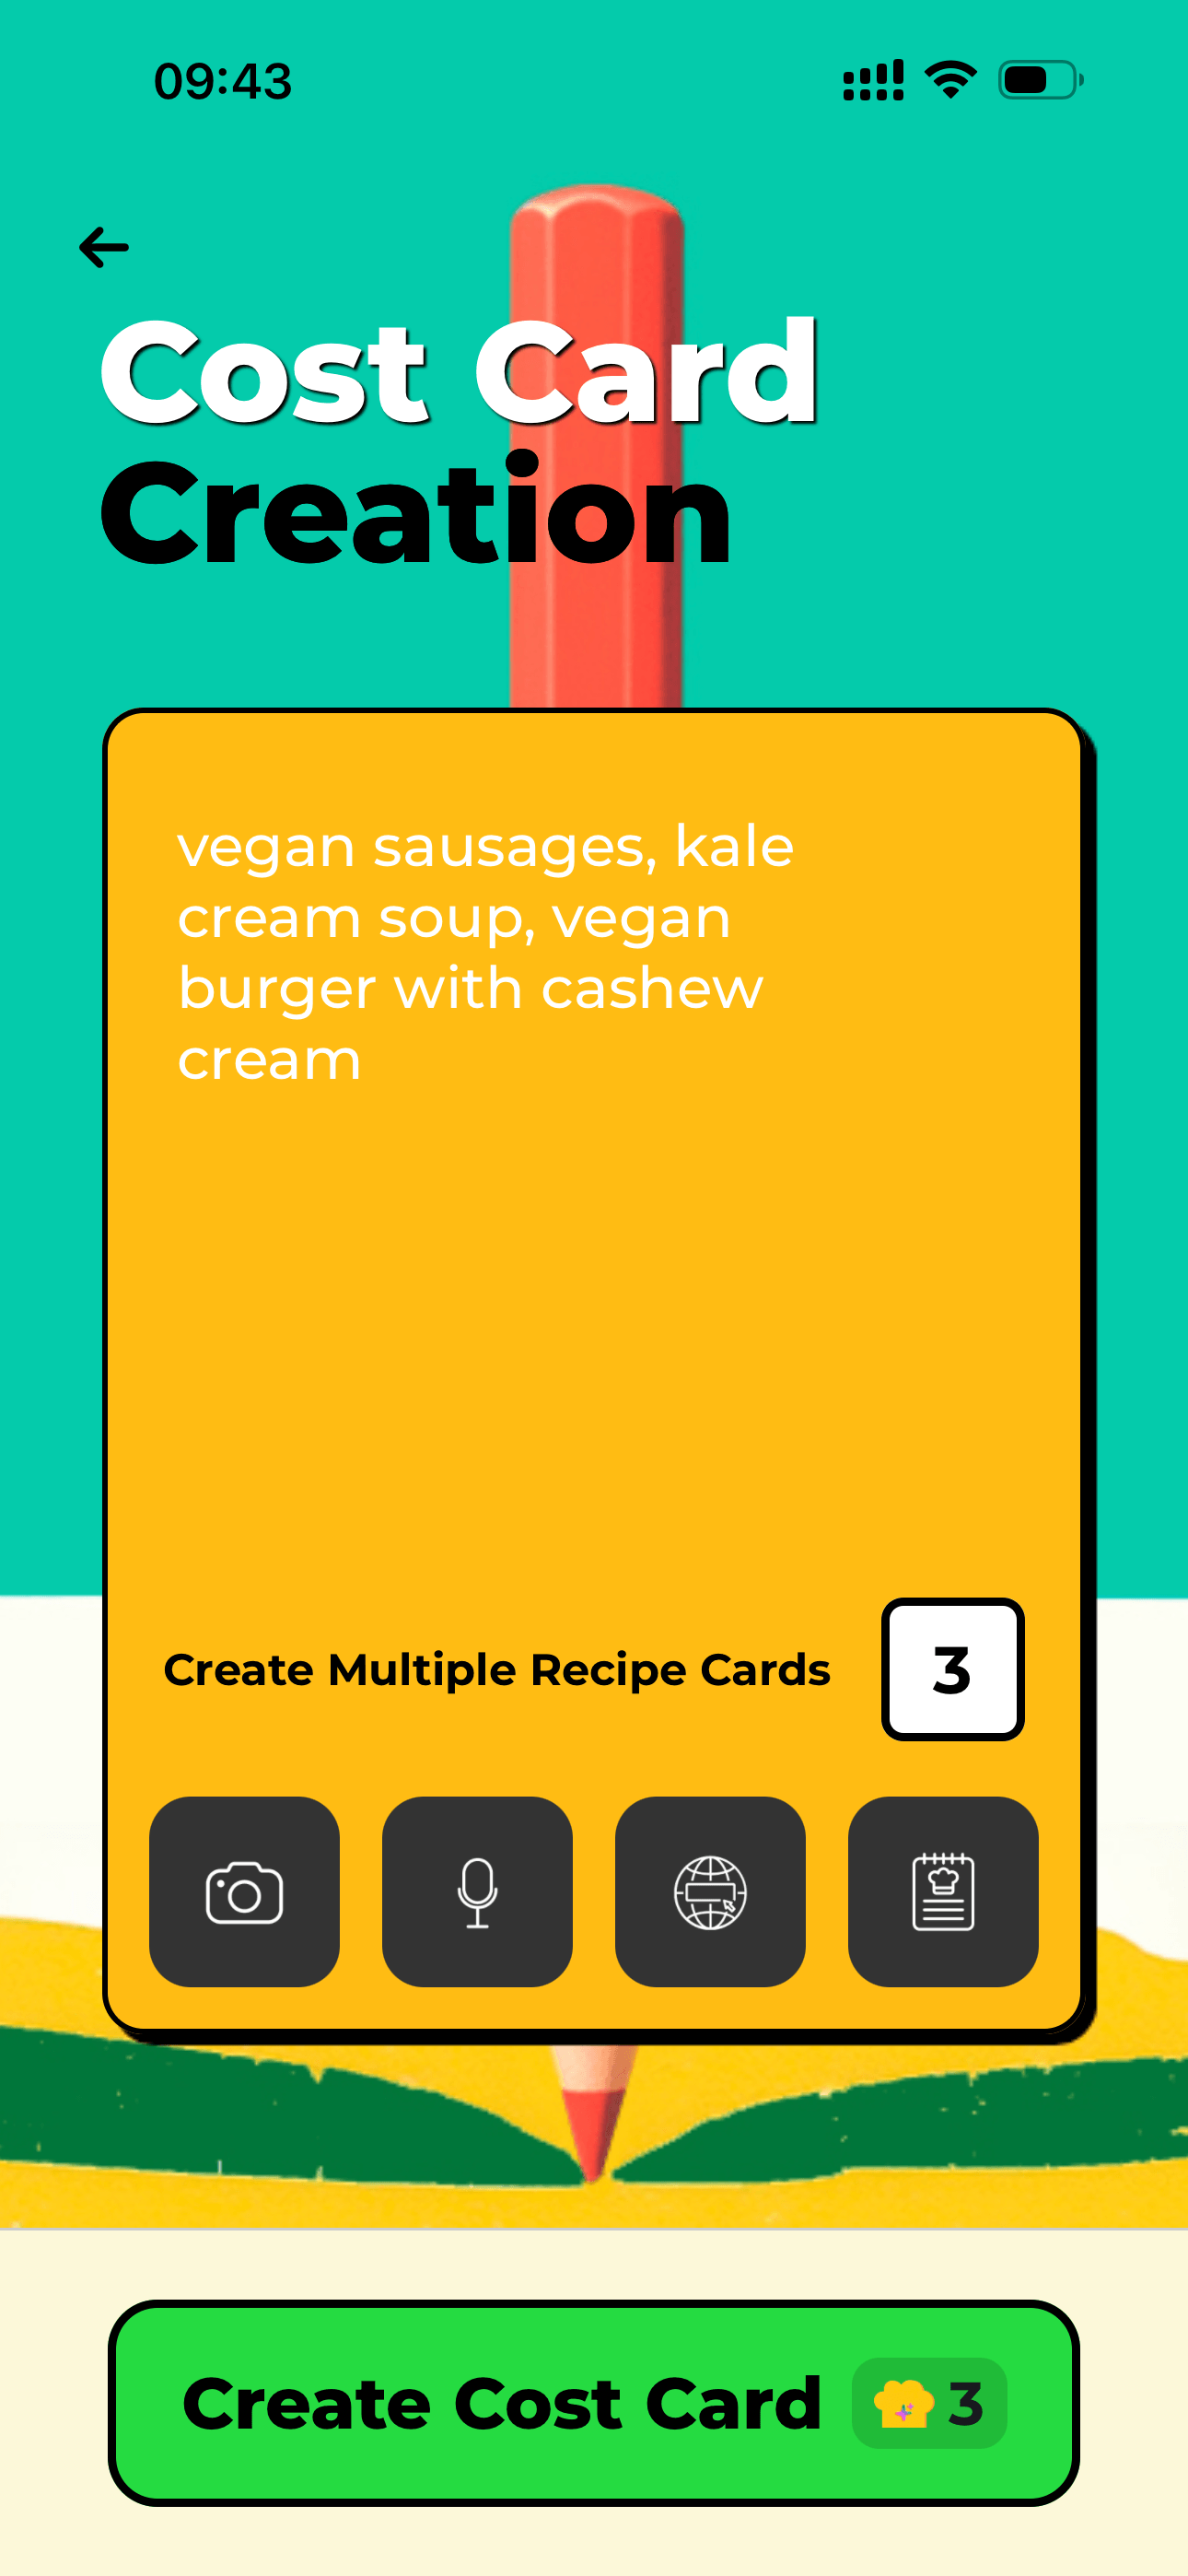
Every dish starts with a cost card built from flexible recipe input.
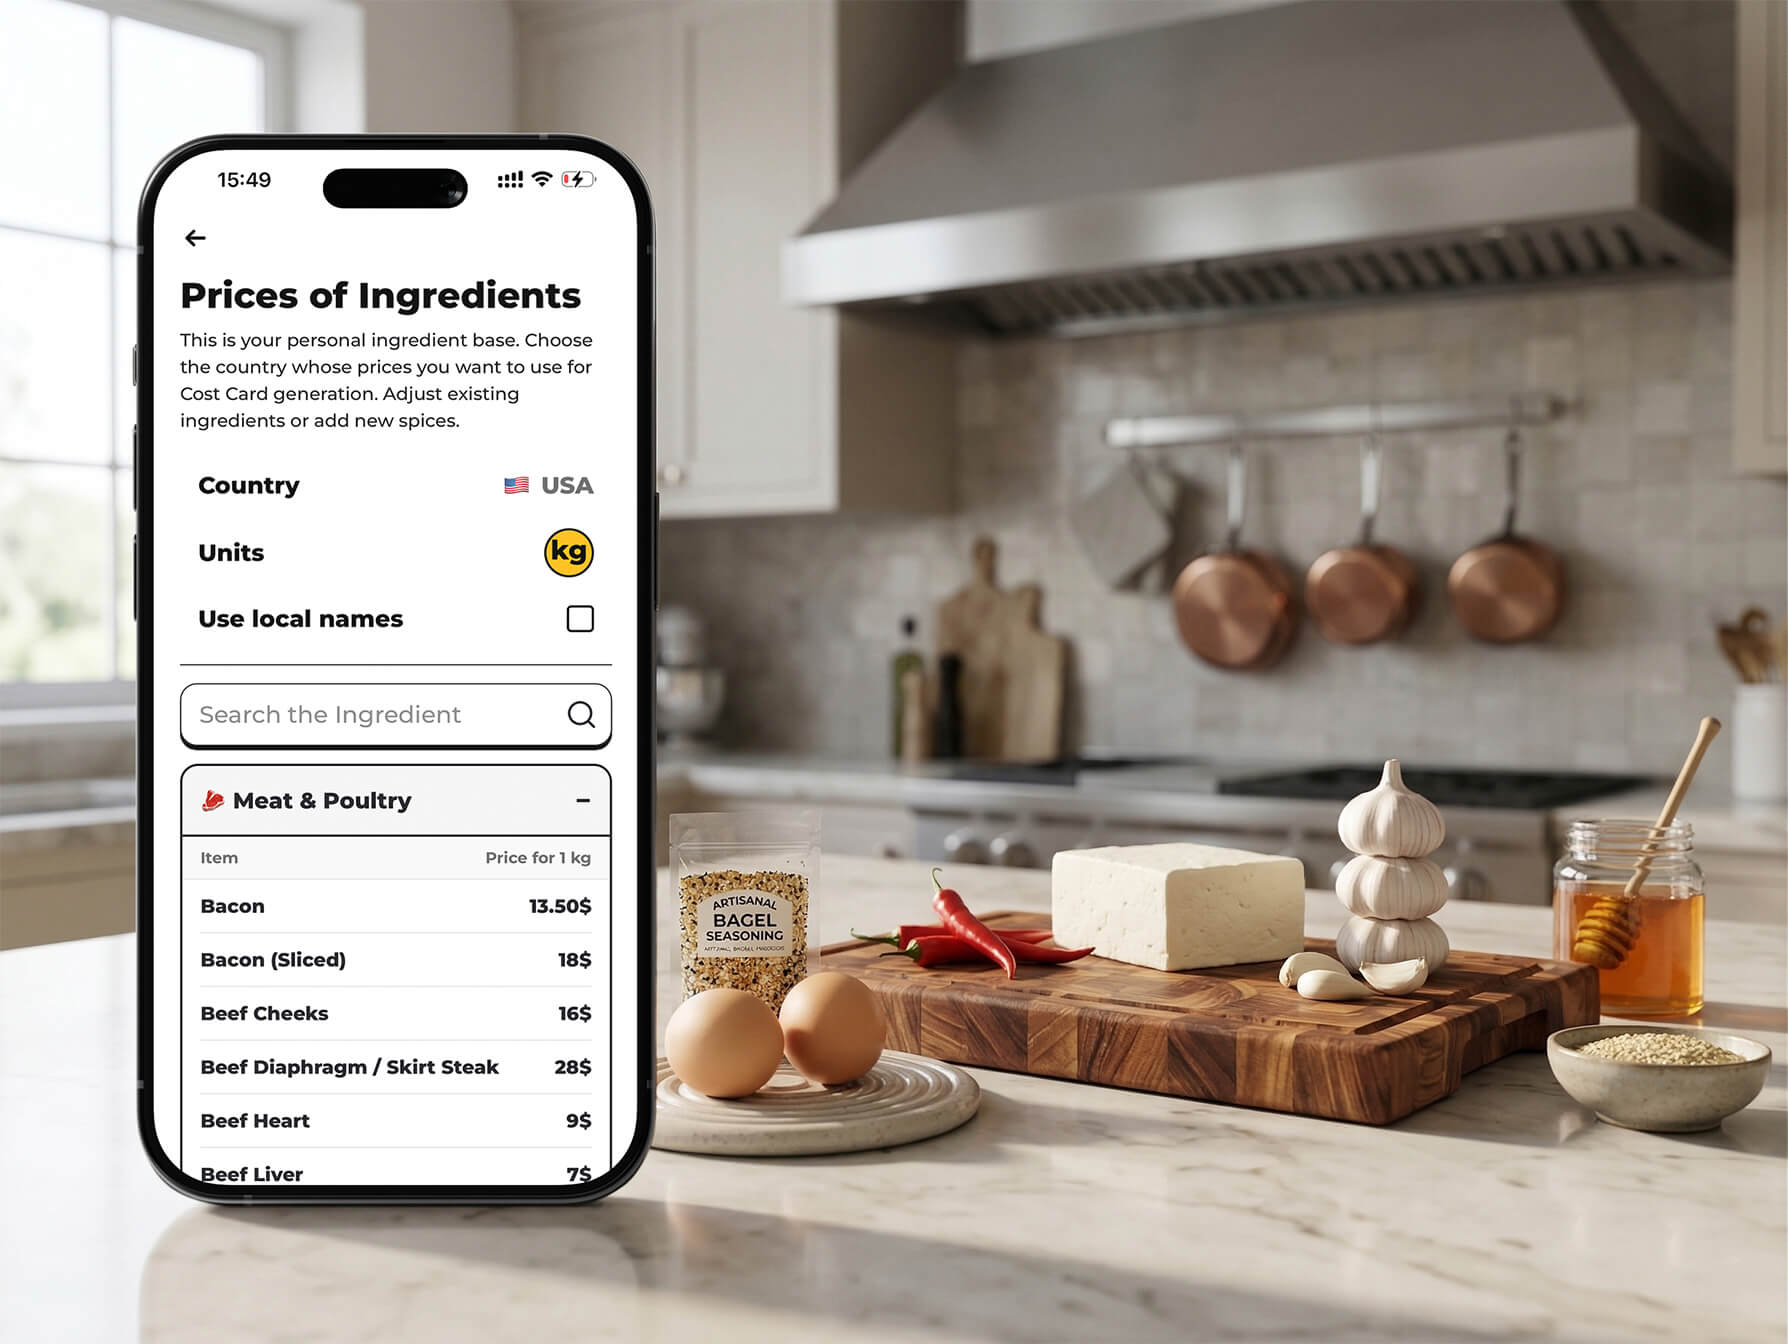
Set Your Ingredient Prices
Enter supplier prices in the price list once. Every cost card that uses that ingredient pulls the price automatically. When prices change, update once — everything reprices instantly.
Keep prices and recipes connected before you compare dishes.
Enter Your Sales Data
For each dish, enter the sell price (from your menu) and items sold (from your POS report for the last 30 days). This is the only manual step that can't yet be automated without a POS integration.
Review the Menu Engineering Matrix
FoodTech.Guru generates the full classification automatically — every dish scored by profitability and popularity, with its Star / Plowhouse / Puzzle / Dog grade assigned.

The matrix gives each dish a category after the cost and sales inputs are ready.
Make Decisions by Category
Stars → protect and promote. Plowhorses → improve margins. Puzzles → increase visibility. Dogs → remove or reprice. See our complete guide for detailed actions per category.
Update the Menu and Monitor Monthly
Implement changes. Then wait 30 days and run the analysis again. Set a recurring monthly task — a menu that was optimized three months ago may have drifted as ingredient prices changed or guest preferences shifted.
The operator still chooses the action: promote, reprice, simplify, or remove.
The ROI of Menu Engineering
💰 Sample ROI Calculation
Research across restaurant groups consistently shows that proper menu engineering increases average contribution margin by 10–15% — without adding new dishes or changing kitchen equipment.
Ready to run menu engineering?